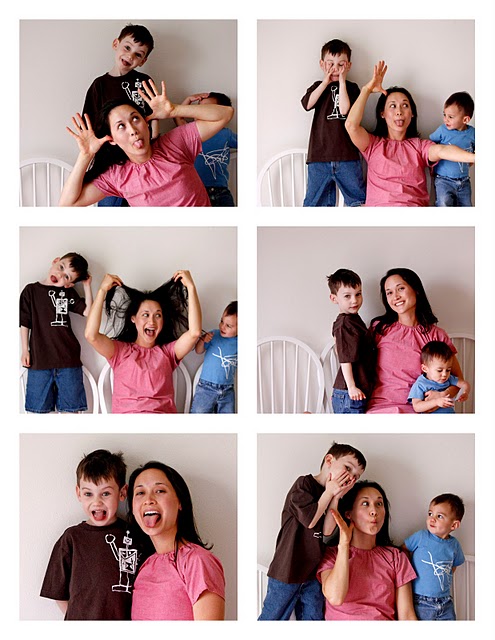
Meet Delia!
We like Delia.
She makes us smile,
because she is real, and she is beautiful,
and we like real, beautiful gals!
She is a Super Momma, to two super boys.
She is a crafty super star–no really, she is.
See for yourself.
And now, I leave you in the very talented hands of Delia!
Hello Little Miss Momma readers!
I am super excited to be here guest posting today.
I sincerely love Ashley and her blog. She is beautiful inside and out. She has great style and is honest. She tells it like it is. I love that she doesn’t sugarcoat her life but instead shares the awesome and awkward with us. 🙂 She definitely inspires me in craft pursuits, and in life.
She asked me to share something Thanksgiving related with you but…I failed. All I have been thinking about is Christmas!
Once I hand out that last Halloween treat, I am mentally singing Jingle Bells until New Years. I don’t like to decorate just yet – in fact the thought gives me hives, but for the whole month of November I am hand-making gifts, crafting up the Christmas decor to put up later, preparing my advent calendars and planning, planning, planning. So the closest thing I could come up with for Thanksgiving is actually something you might need the day after…Black Friday!
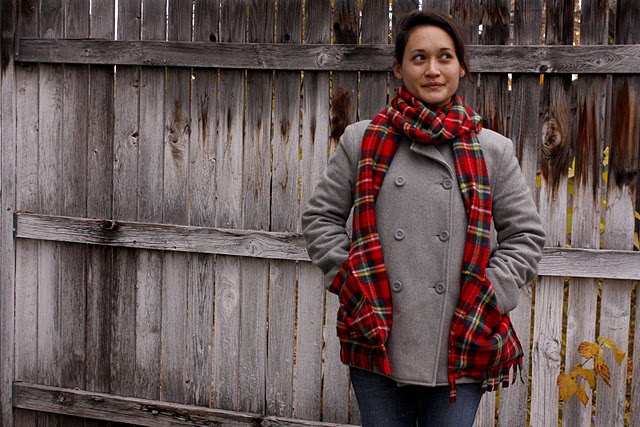
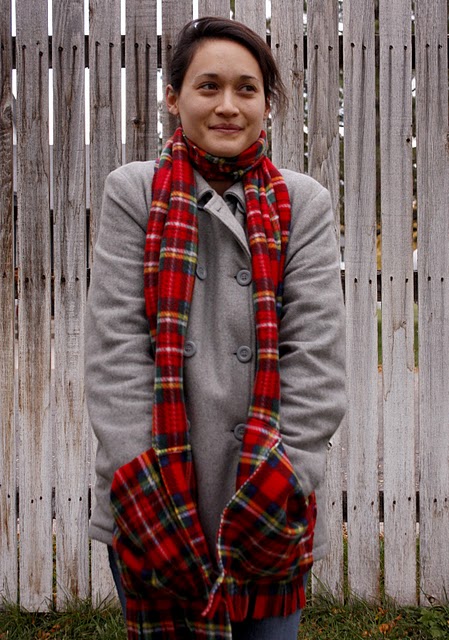
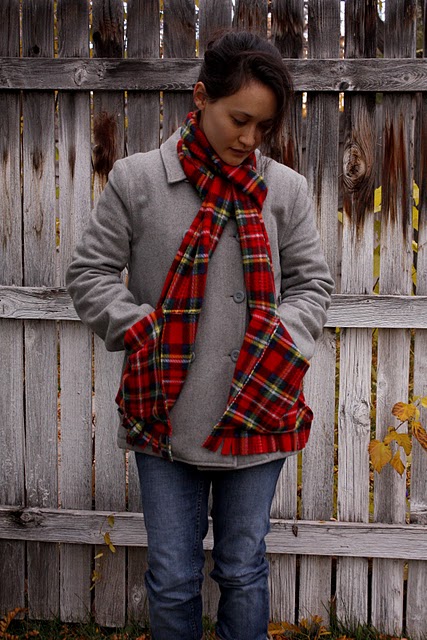
A deep pocket scarf…
It is a simple fleece scarf with deep pockets for your hands.
If you forget gloves…no problem.
If you live in a freezing cold, snowy place like me, they are an extra layer of insulation from the cold if you are wearing gloves.
So while you’re waiting in line at 4 am you can stay warm….well as warm as you can get I guess. 🙂
They are fun, easy, and inexpensive to make! My kind of project.
Let’s get started.
Materials:
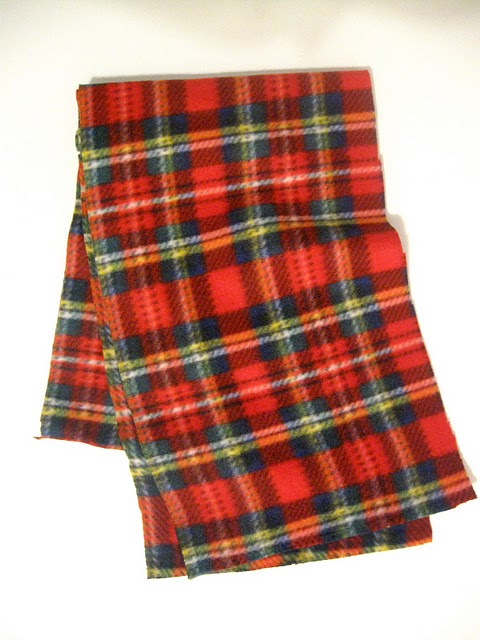
1/2 yard of good quality fleece. Most fleece is 60 wide. This is what you want and the measurements I will be using. It should be nice and thick and soft. It is sometimes a little bit more expensive but not by much. I got mine at Walmart for $4.44/yd. So it came to about $2.50 ish after tax.
Sewing machine
scissors and a rotary cutter is nice but not necessary
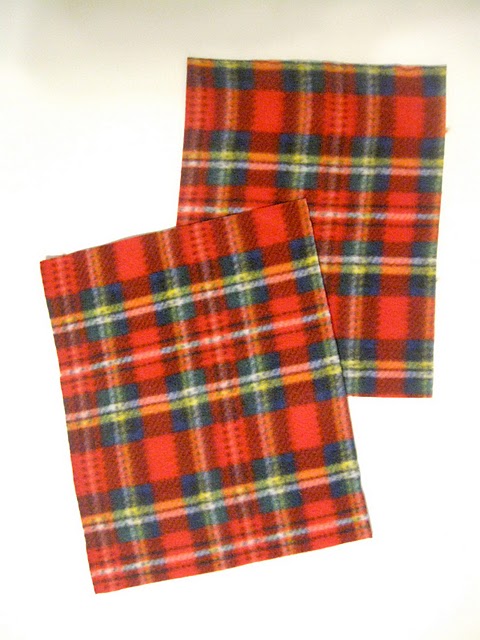
1. Cut your fleece in half. Your piece should be about 9 inches wide and 60 inches long.
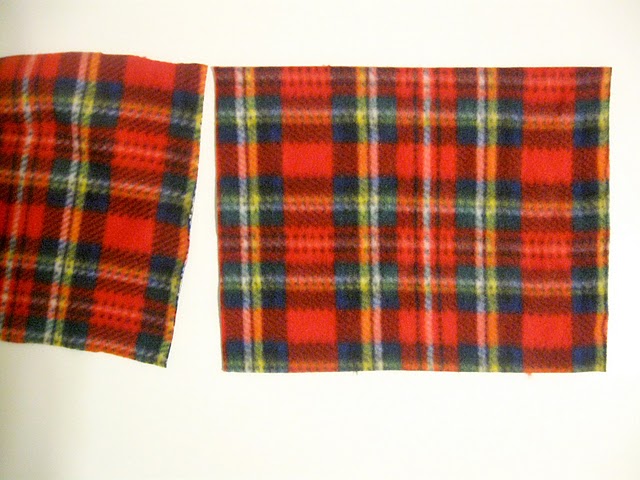
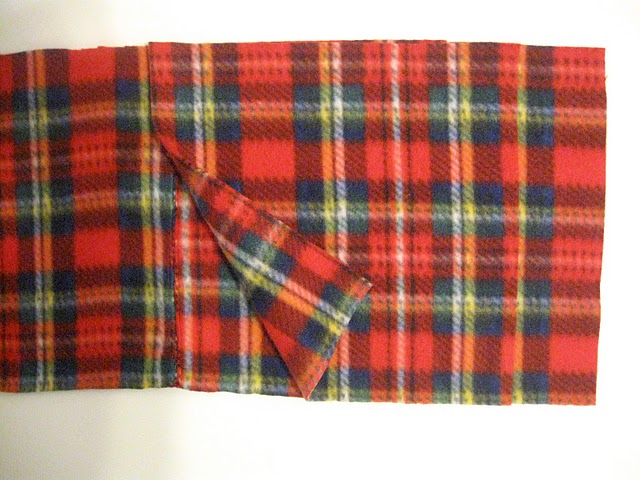
2. Cut the second piece of fleece into rectangles to extend the length of your scarf.
You want to try to match up the pattern if you can. I cut my length to 12.5 inches long and 9 inches wide. Save the extra material for the pockets for later.
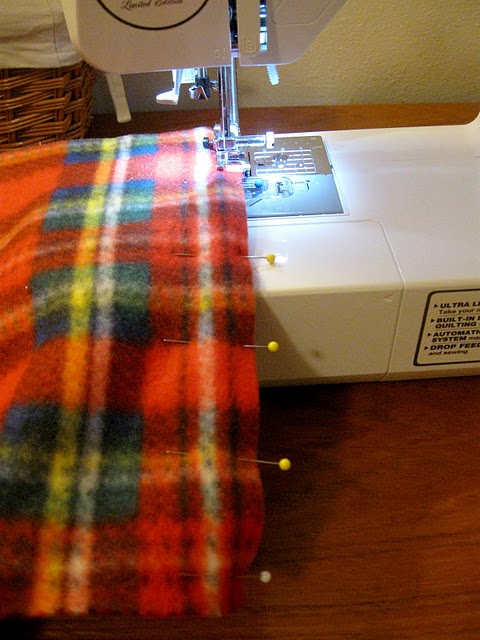
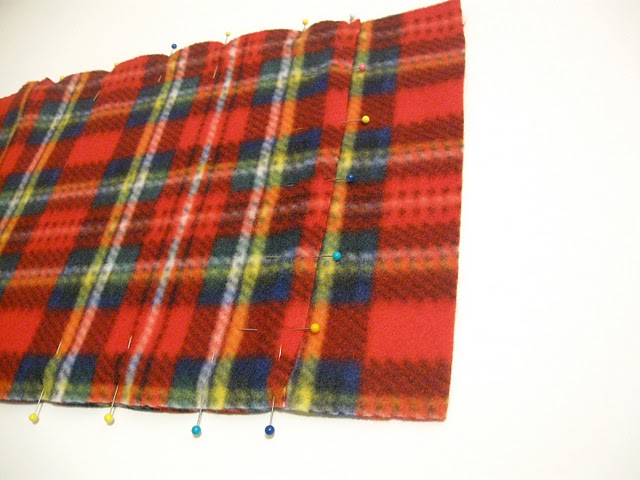
3. Pin right sides together.
If you look closely there is a right and wrong side to fleece. Well, different sides I should say. You can decide which one is “right” for your project purposes. There is a smoother side and a slightly fuzzy side. Just make sure the sides match.
Sew along the short side leaving a quarter inch seam. Repeat for the other end of the scarf.
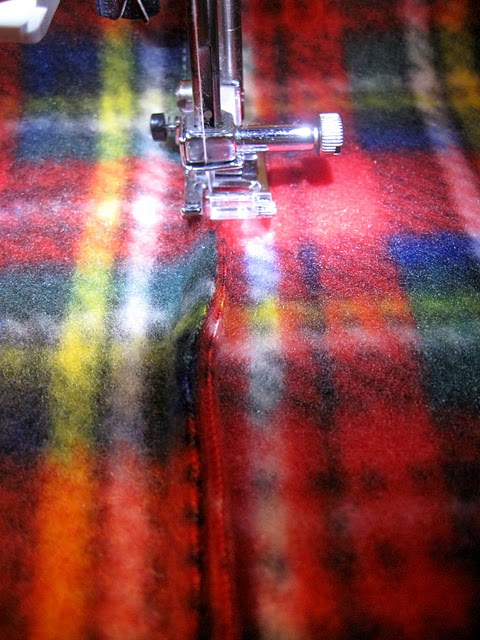
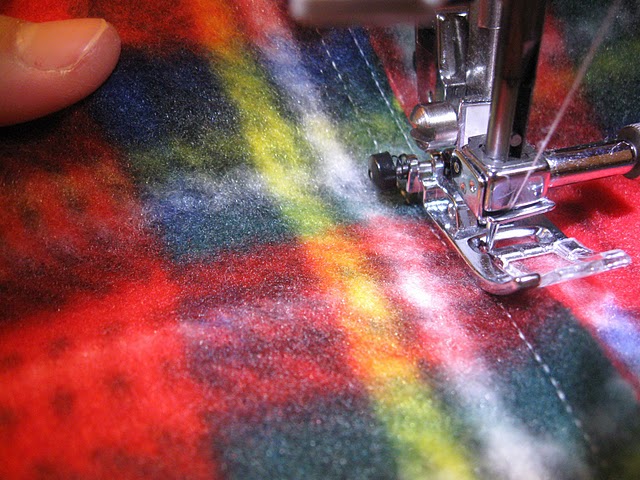
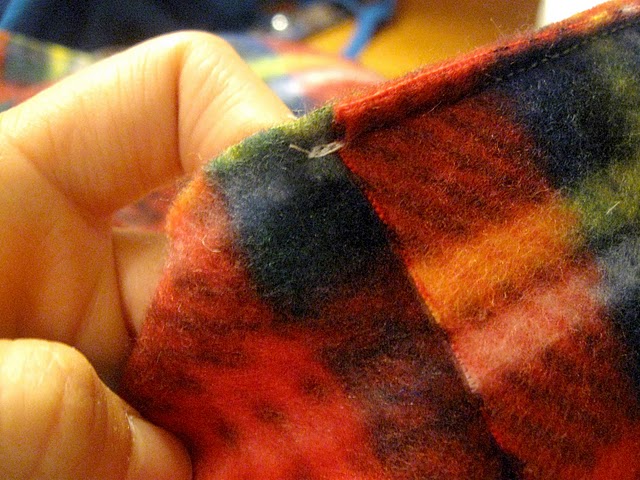
4. You can leave the seam out and raw. I like to sew it down so it looks a little cleaner. Pin if you like. I didn’t. I just pushed it downward and sewed a parallel line to the first seam.
Go slow to make sure you get a nice straight line and to ensure you catch the seam.
5. Now add your pockets. I cut mine about 10 long and 9 wide to match the width of the scarf. I tried to match the pattern as much as I could here too.
6. Pin the pockets about 2.5 inches above the end of the scarf. You are going to cut fringe here in a bit. If you want longer or shorter fringe, by all means adjust this measurement.
7. Sew around all sides except for the top of the pocket. I sewed a 1/8 inch seam. I started at the top side of the pocket and when back and forth 4-5 times before continuing on around the pocket. I then went back and forth at the end or top part of the other side of the pocket to strengthen it. The top of the pocket gets pulled on a lot so it just helps it hold better.
Repeat for the second pocket.
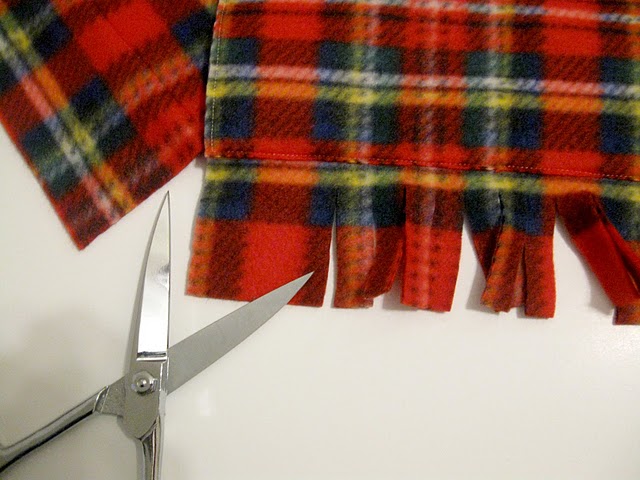
8. Cut your fringe.
And you’re done!
Of course you can do this without pockets. You will likely want to just use a 1/4 yard piece of fleece. This scarf is measured to be longer so that when you wrap it around your neck you can still comfortably put your hands in the pockets. If you want one without pockets. Stop after step 1, cut your fringe and you’re done. A warm fleece scarf for a buck.
If you want a fancier pocket, I give you a word of warning. I tried a gathered pocket front. It made the scarf heavy and bulky at the ends. It made it look awkward and the pocket wasn’t as attractive on the scarf as it was before I attached it. You might have better luck, just be warned that any bulk on the scarf can look different than you thought…that’s how it went for me.
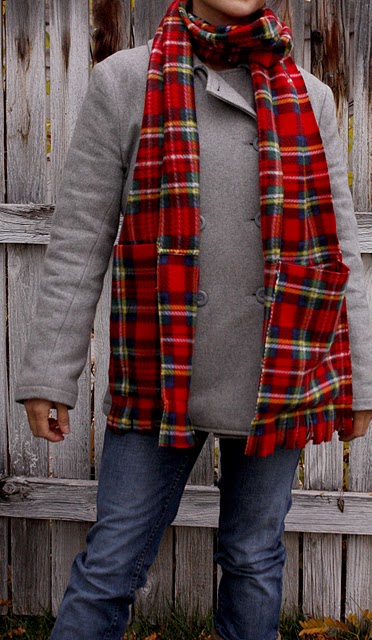
I like how streamlined this pocket is. If you aren’t using them they don’t get in your way or stand out too much. Plus this is easier to make. 🙂
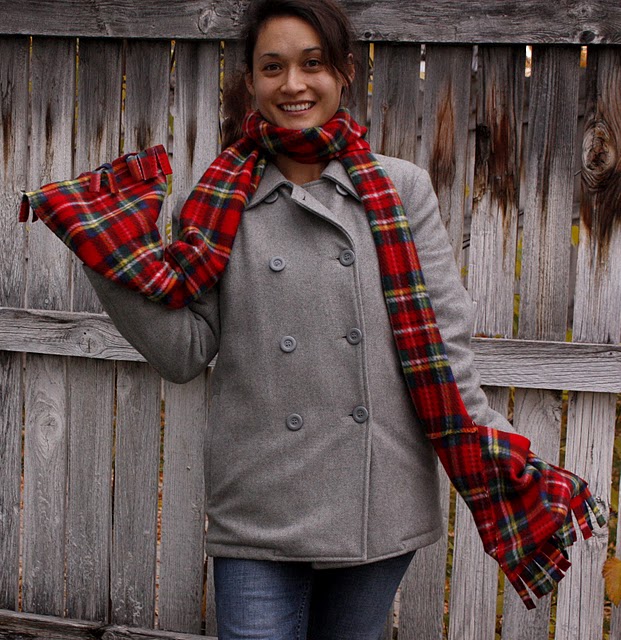
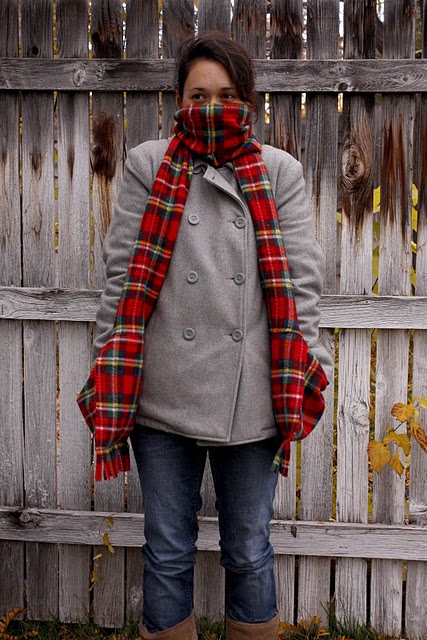
Because of the extra length you can wrap it around your face. Add a beanie…or three…and you’re set for crazy shopping at the wee hours of the morning.
My hair looks like it is the wee hours of the morning here. 🙂 I was going for that look…right…
If you prefer to knot your scarf in the front it works well that way too.
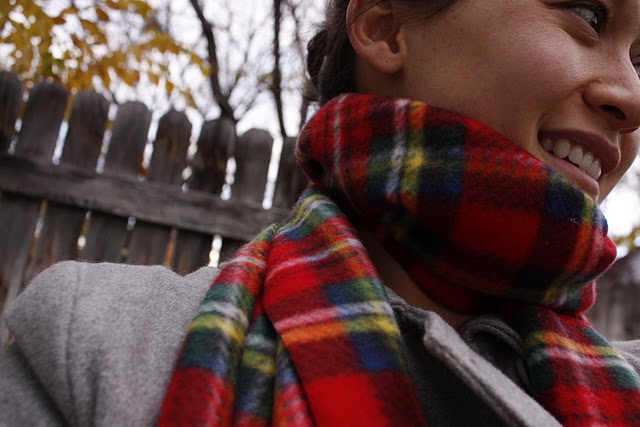
Don’t you love how I kind of picked a Christmasy print too? Ha ha. Sorry Ashley. If it matters, I plan on wearing this print in February too!…Heck…April since it snows that long around here.
Thank you again for letting me visit.
Have a great day and stay warm everyone!
Happy Crafting!
Be sure to stop by Delia Creates and tell her LMM thinks she’s PURE awesome!









Jamie
Can you possibly answer some question about steps 2 and 3.
2. Cut the second piece of fleece into rectangles to extend the length of your scarf.
You want to try to match up the pattern if you can. I cut my length to 12.5 inches long and 9 inches wide. Save the extra material for the pockets for later.
* (If I cut to this measurement to extend there will not be any material left, right?)
3. Pin right sides together.
…
Sew along the short side leaving a quarter inch seam. Repeat for the other end of the scarf.
*(What exactly am I sewing here? The rectangles that I cut in the previous step, or the end of the scarf?
Anyway, great project!
Kathy Mitton
I am confused about step 2. Do we add the 12.5 by 9 inch pieces that are sewn together to the end of the scarf? And on only one end? And the leftover is used to cut pockets? If we cut 2 pieces 12.5 inches and two 10 pockets we would have 15 inches left. Please clarify where the two pieces go. Thank you! I love the scarf!
J M
I found the instructions confusing. It’s not worth my time to try and figure out what you mean.
Product Data Entry
Hi! Thank you so much to allow me here and i would like to inform you everyone how to know exactly and full knowledge of Product data entry for eCommerce outsourcing.So follow me with this homepage and learn for free and online.
Ruth-Ann
Thank you for such a great explanation for this scarf with pockets. I love the photos.
Connie
The directions are slightly confusing, but if you look at the photos, it’s not hard to figure out. I’ve made these scarves for years…in lots of different configurations. And I love them all!
HERVE LEGER
So we love to add movement Beer Costume with these bands that emulate fringe,
roman davis
This is a very beautiful brand for women to wear and making more fanciable. I like your products and try to buy one of them for my wife. cheap dissertation writing service
Your code of destiny
I am really impressed along with your writing abilities and also with the layout in your blog. Is that this a paid topic or did you modify it yourself? Either way stay up the excellent high quality writing, it is rare to peer a great blog like this one these days!
iagy9
clomid pills cost of cheap clomid prices clomiphene pills clomiphene tablets uses in urdu how to get generic clomid tablets can i order cheap clomiphene for sale order cheap clomiphene without prescription