


Baby Footprint Plaque Tutorial
{Featuring Mod Podge, of course}
I had grand plans of having this project completed before Father’s Day so that I could share this gift idea with y’all, but Baby W had different plans this week–better late than never, right?!
Here is what you will need to make your very own
Baby Footprint Keepsake Plaque:
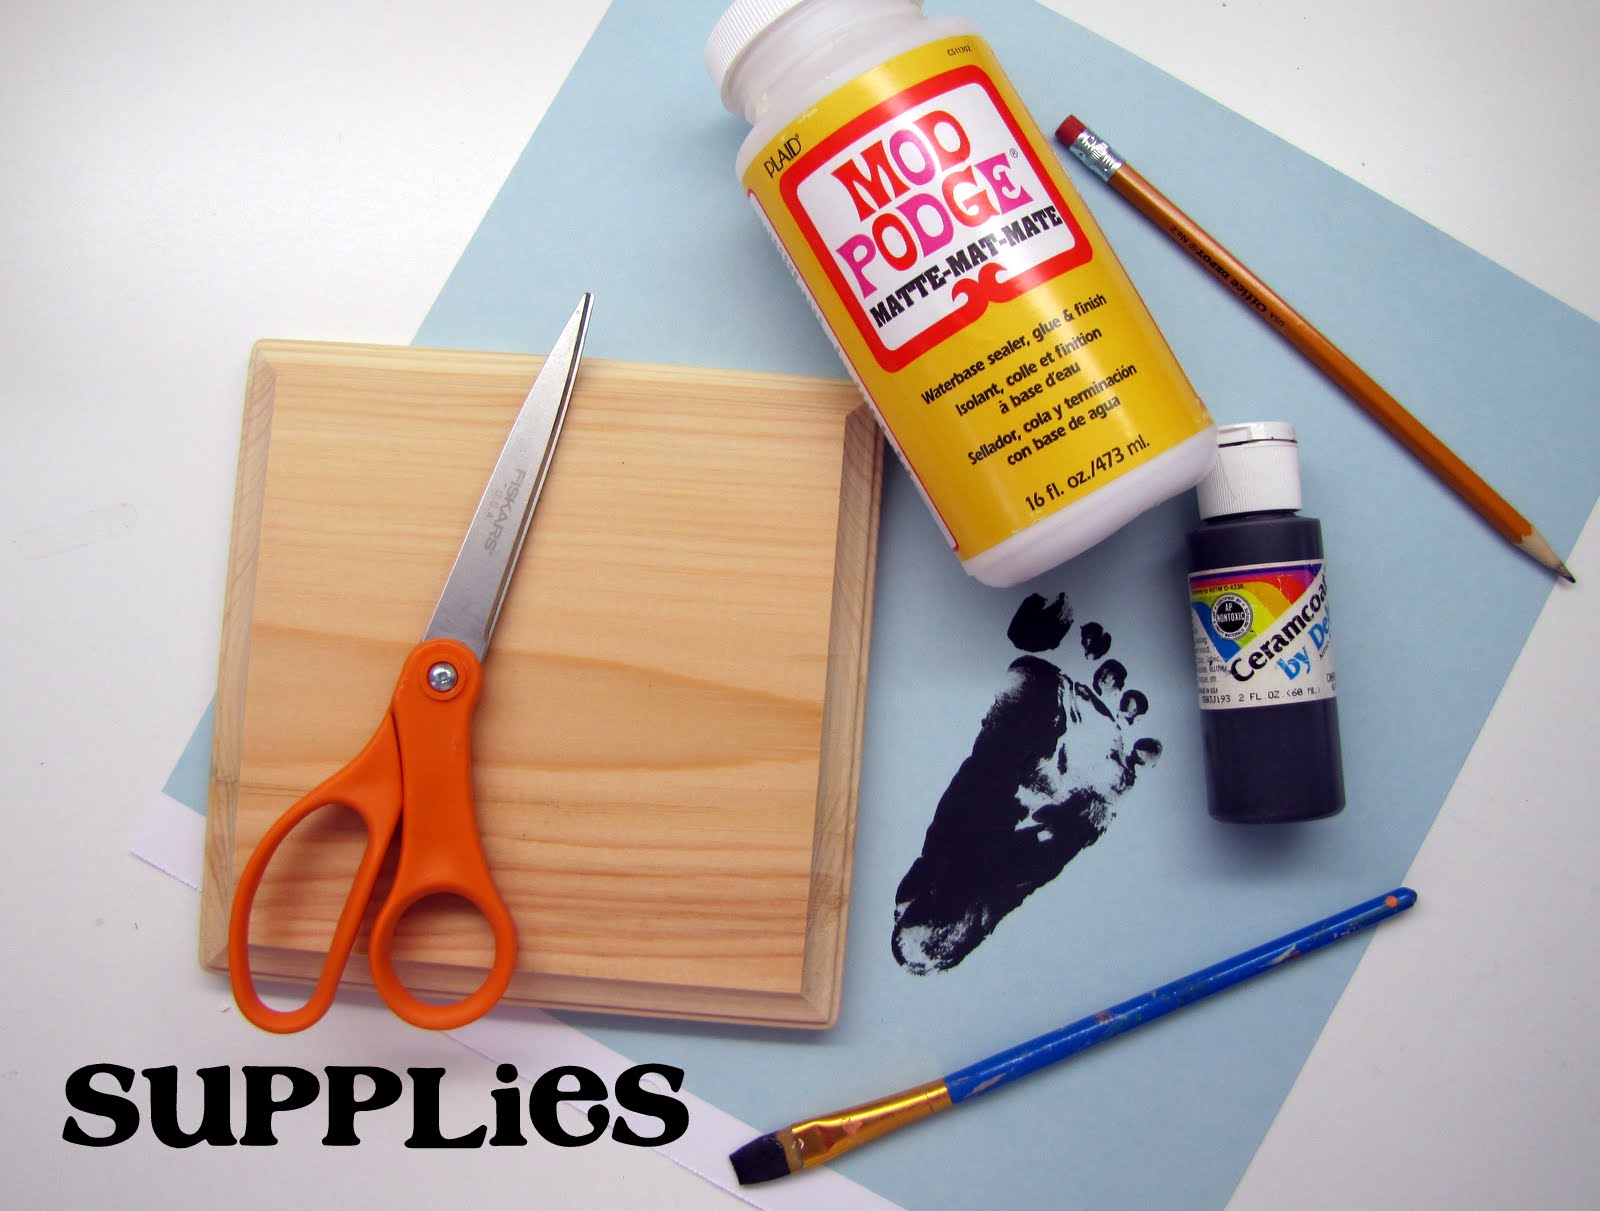
Supplies:
Wooden Plaque {@ Michael’s for about $2 or less}
Your little ones foot print on scrapbook paper
Acrylic Paint {or spray paint}
Mod Podge {I used the matte finish}
Scissors
Paint brush
Sand Paper {not pictured}
STEP ONE:
Use the acrylic paint to get a footprint from your babe.
Good luck getting a decent footprint of your squirmy little bundle of joy.
I got about 20 like this before I got one that was half way decent:
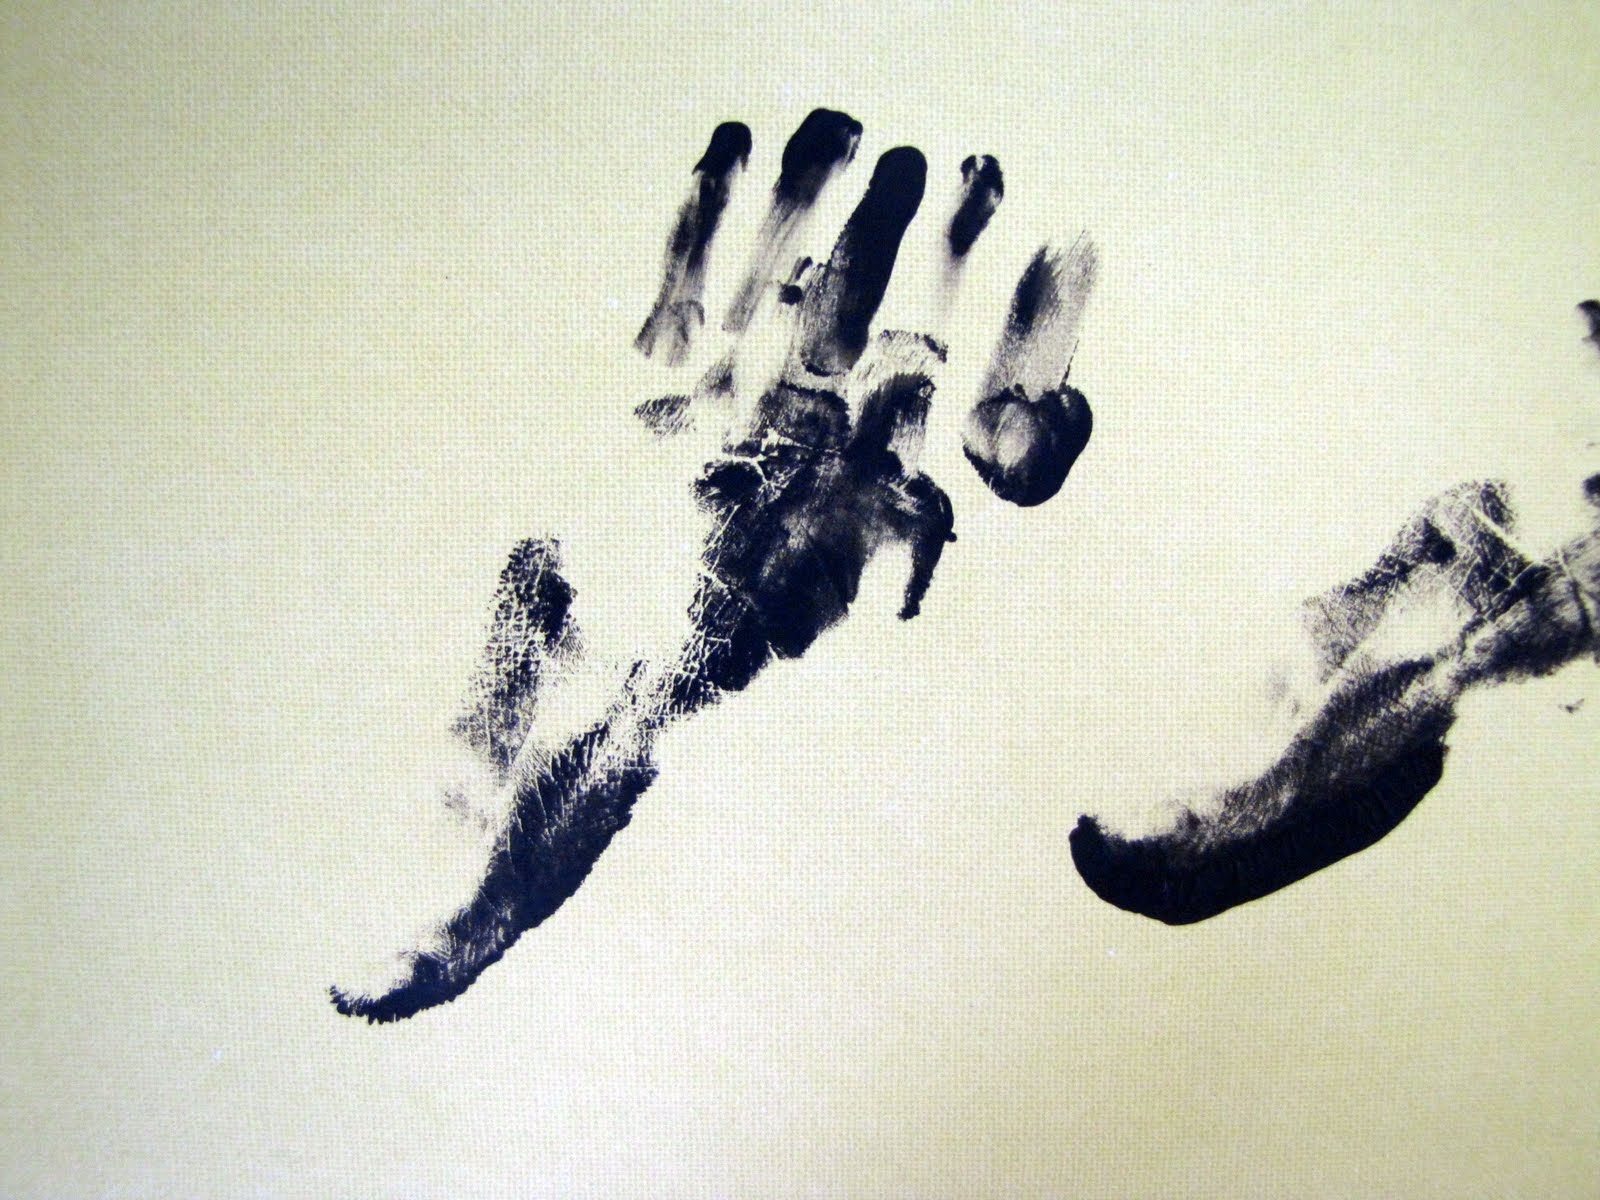
This one looks like Baby W has 3 inch toes.
Paint the edges of your plaque the color of your choice {I used black}. No need to paint the middle of the plaque since it will be covered by the paper.
STEP TWO:
Now you have to cut the scrapbook paper with the footprint on it to be the correct size to mount on your plaque. This is the tricky part. Because the plaque has a bevelled edge you can’t easily trace the outline.
So here is a helpful technique I have learned. Flip over the paper with your footprint on it and place it directly onto the spot on the plaque that you want it. Now, grab a crayon and color over all the edges of the plaque. The EXACT edge of the plaque will show up the darkest in crayon.
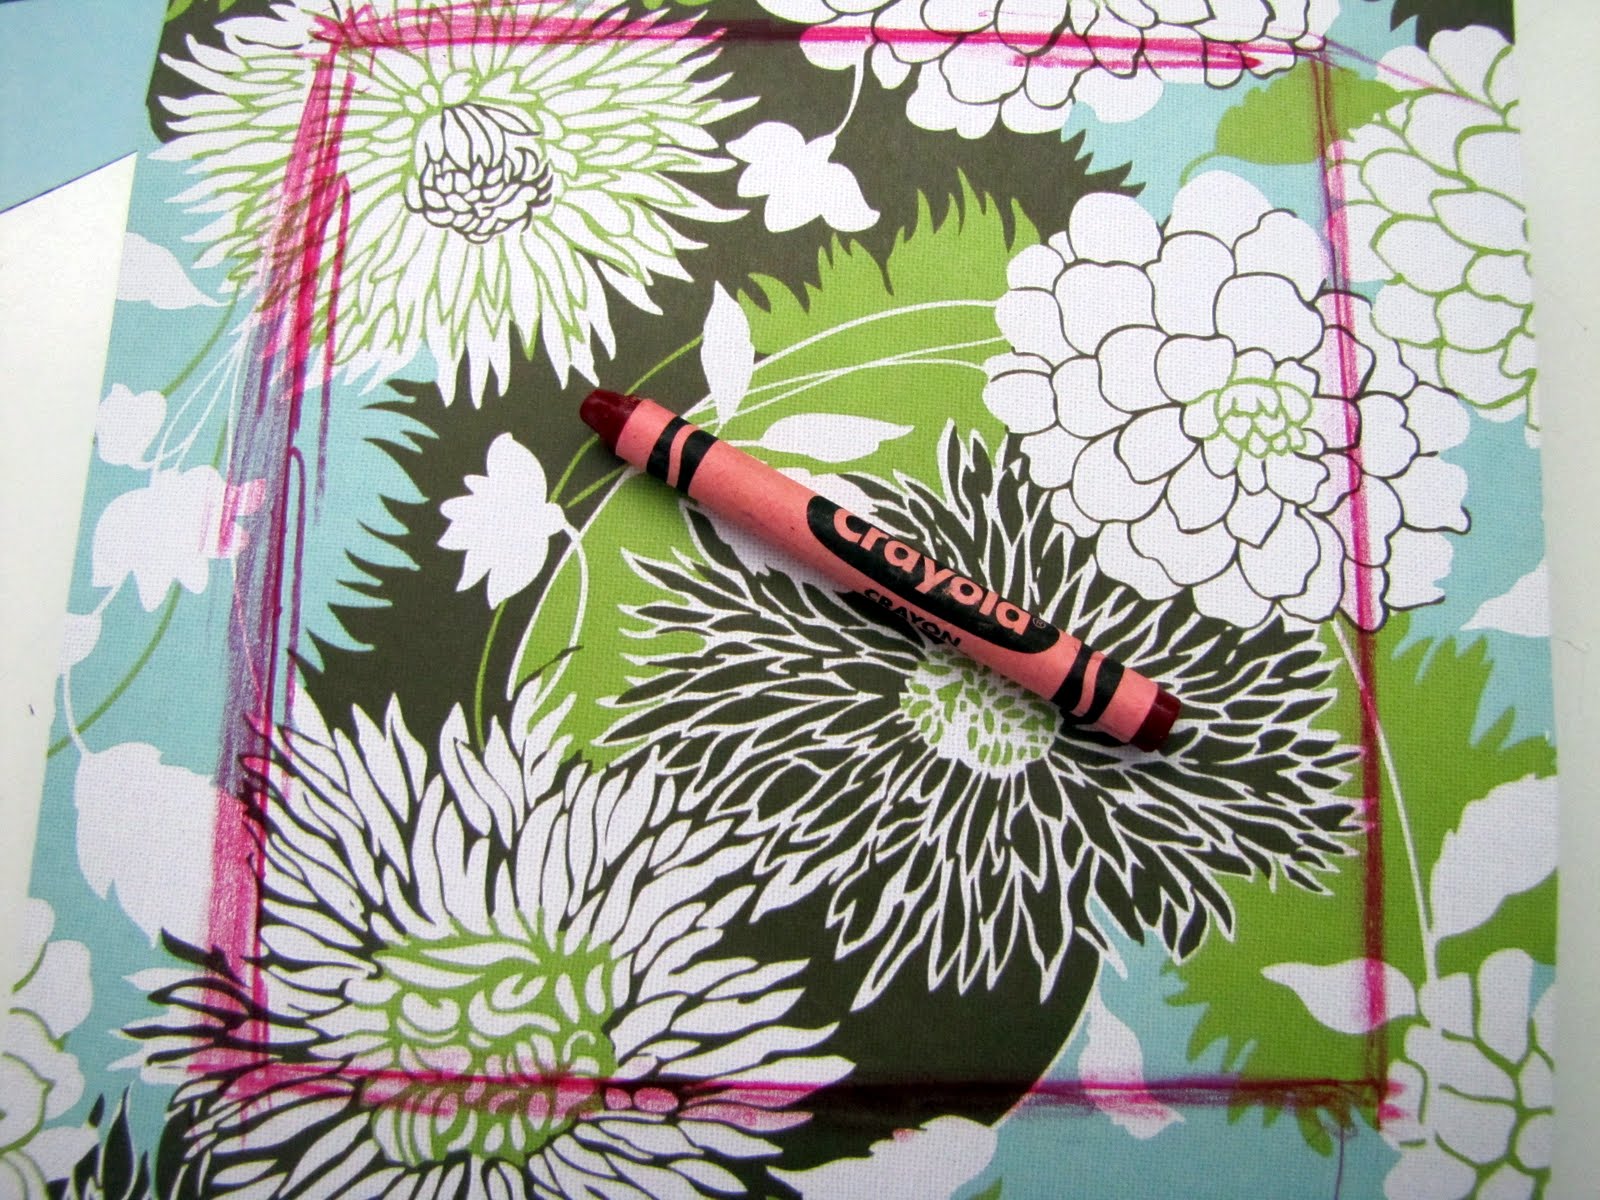
Now, cut out your paper along those dark crayon lines for a perfect outline.
STEP THREE:
Apply a generous amount of Mod Podge to the surface of your plaque and then place your footprint cut out on top. Smooth out all the bubbles.
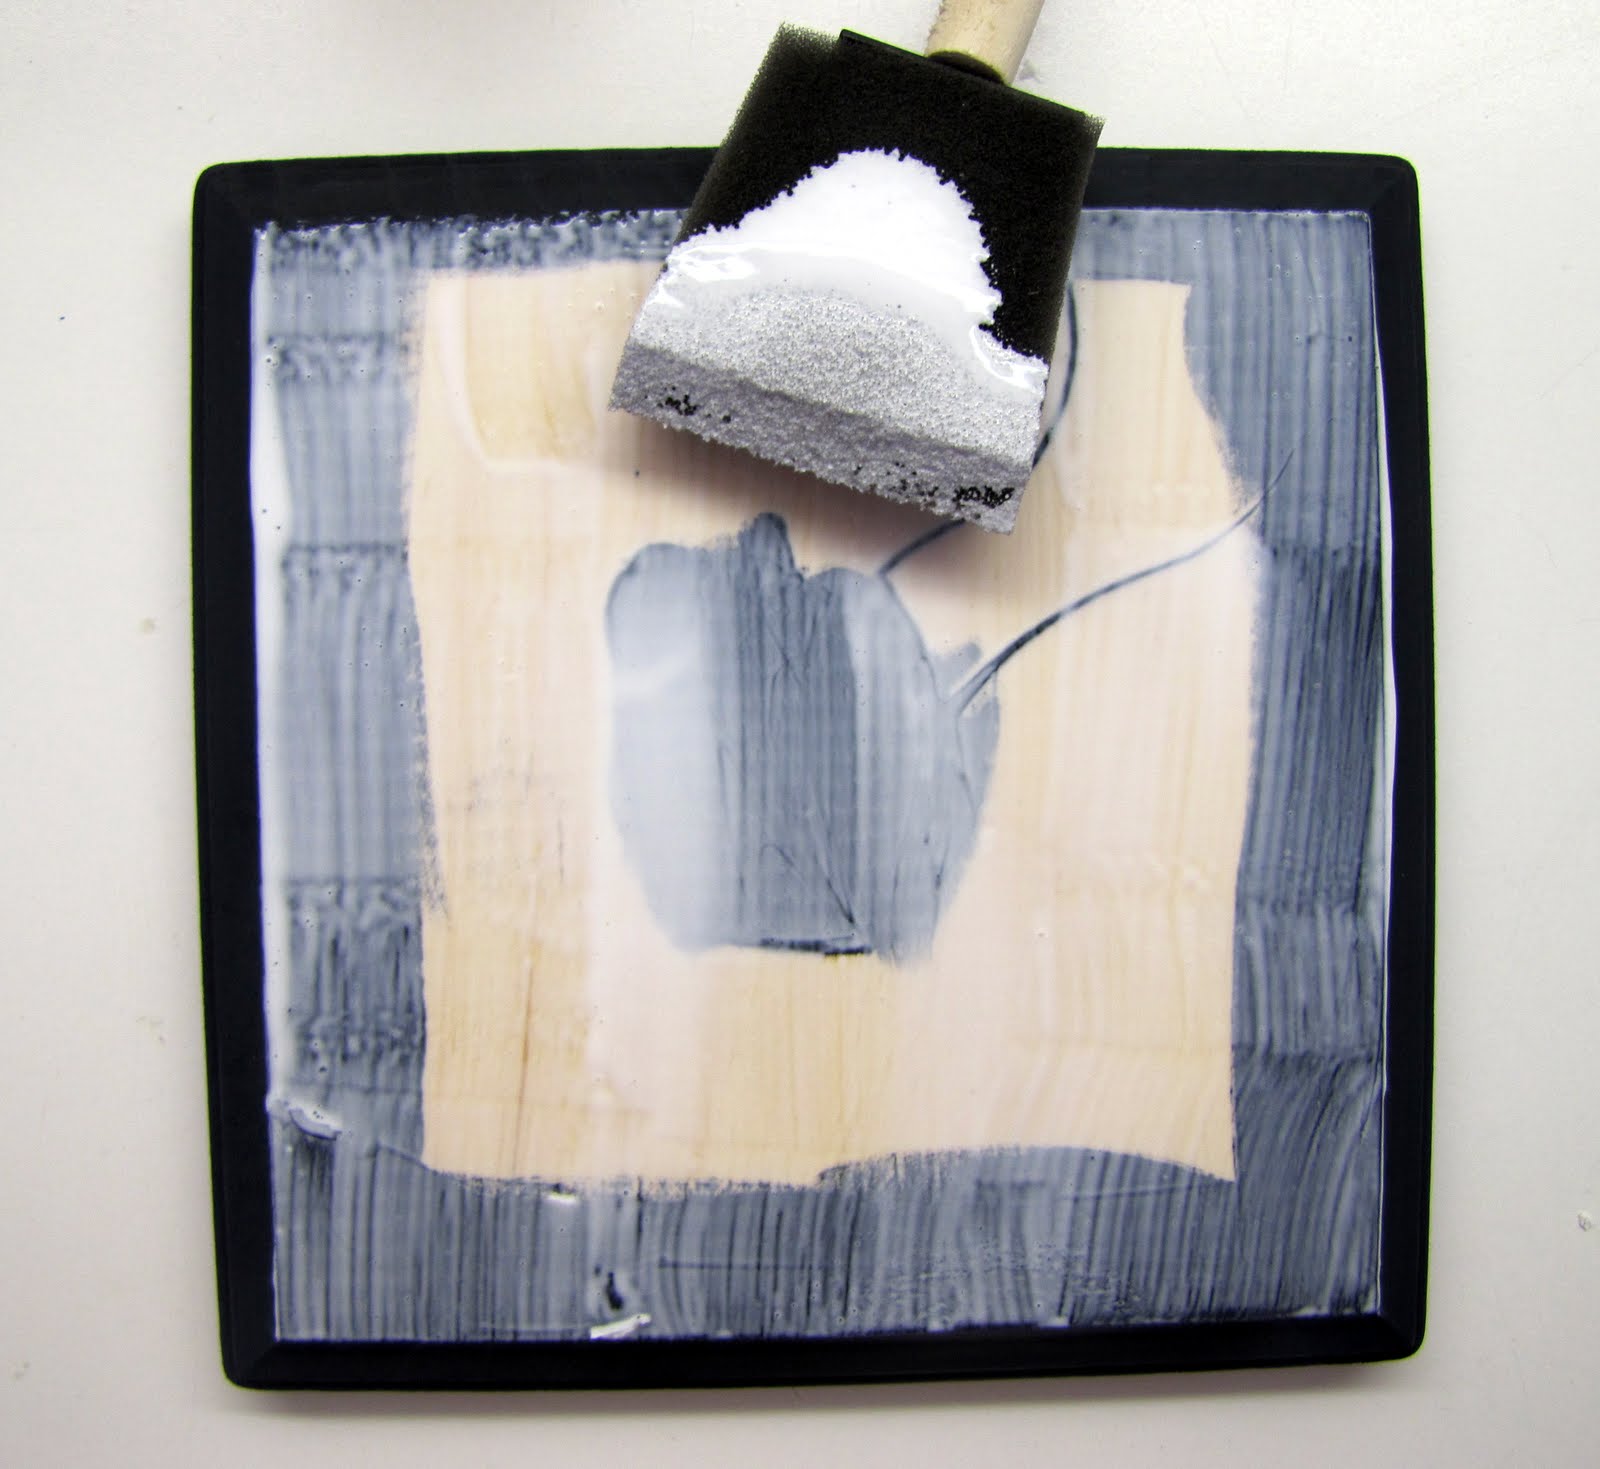
Notice that the edges won’t be perfect and glue may be dripping down the sides.
This is OKAY.
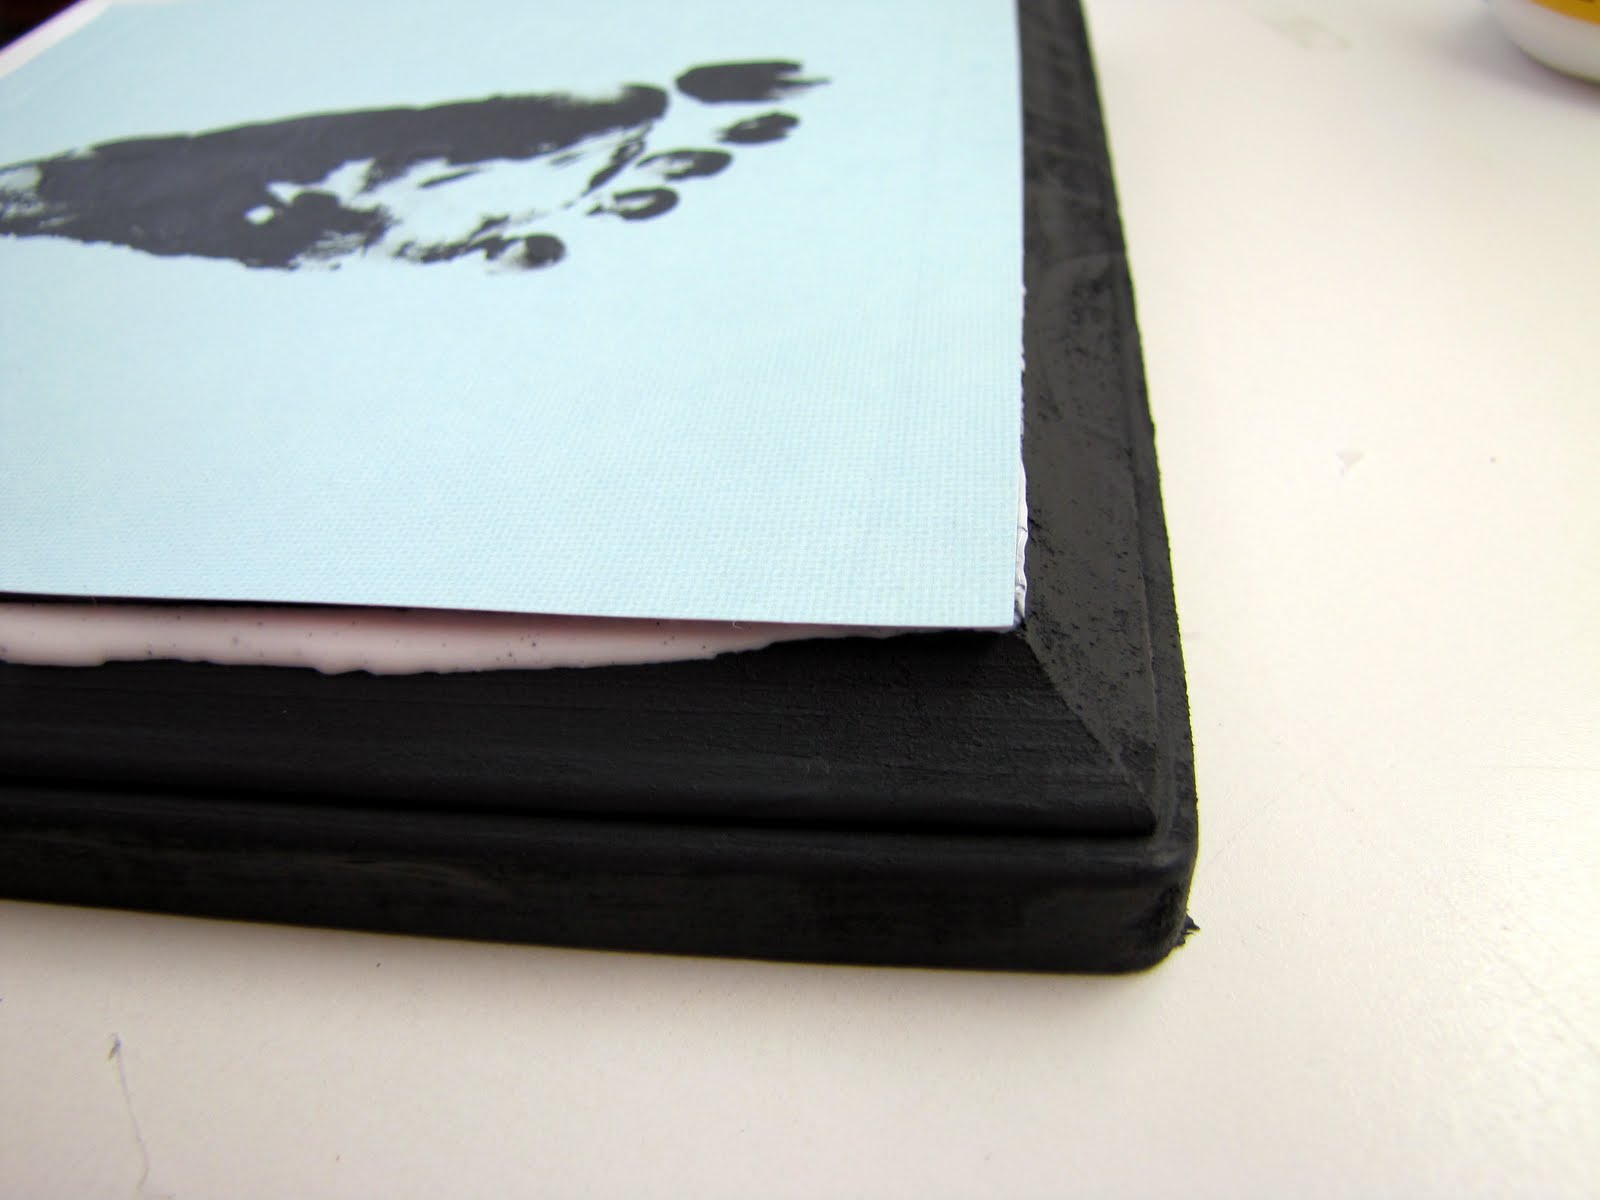
Before applying the top layer of Mod Podge take your sandpaper and sand down the rough edges of paper and dripping glue.

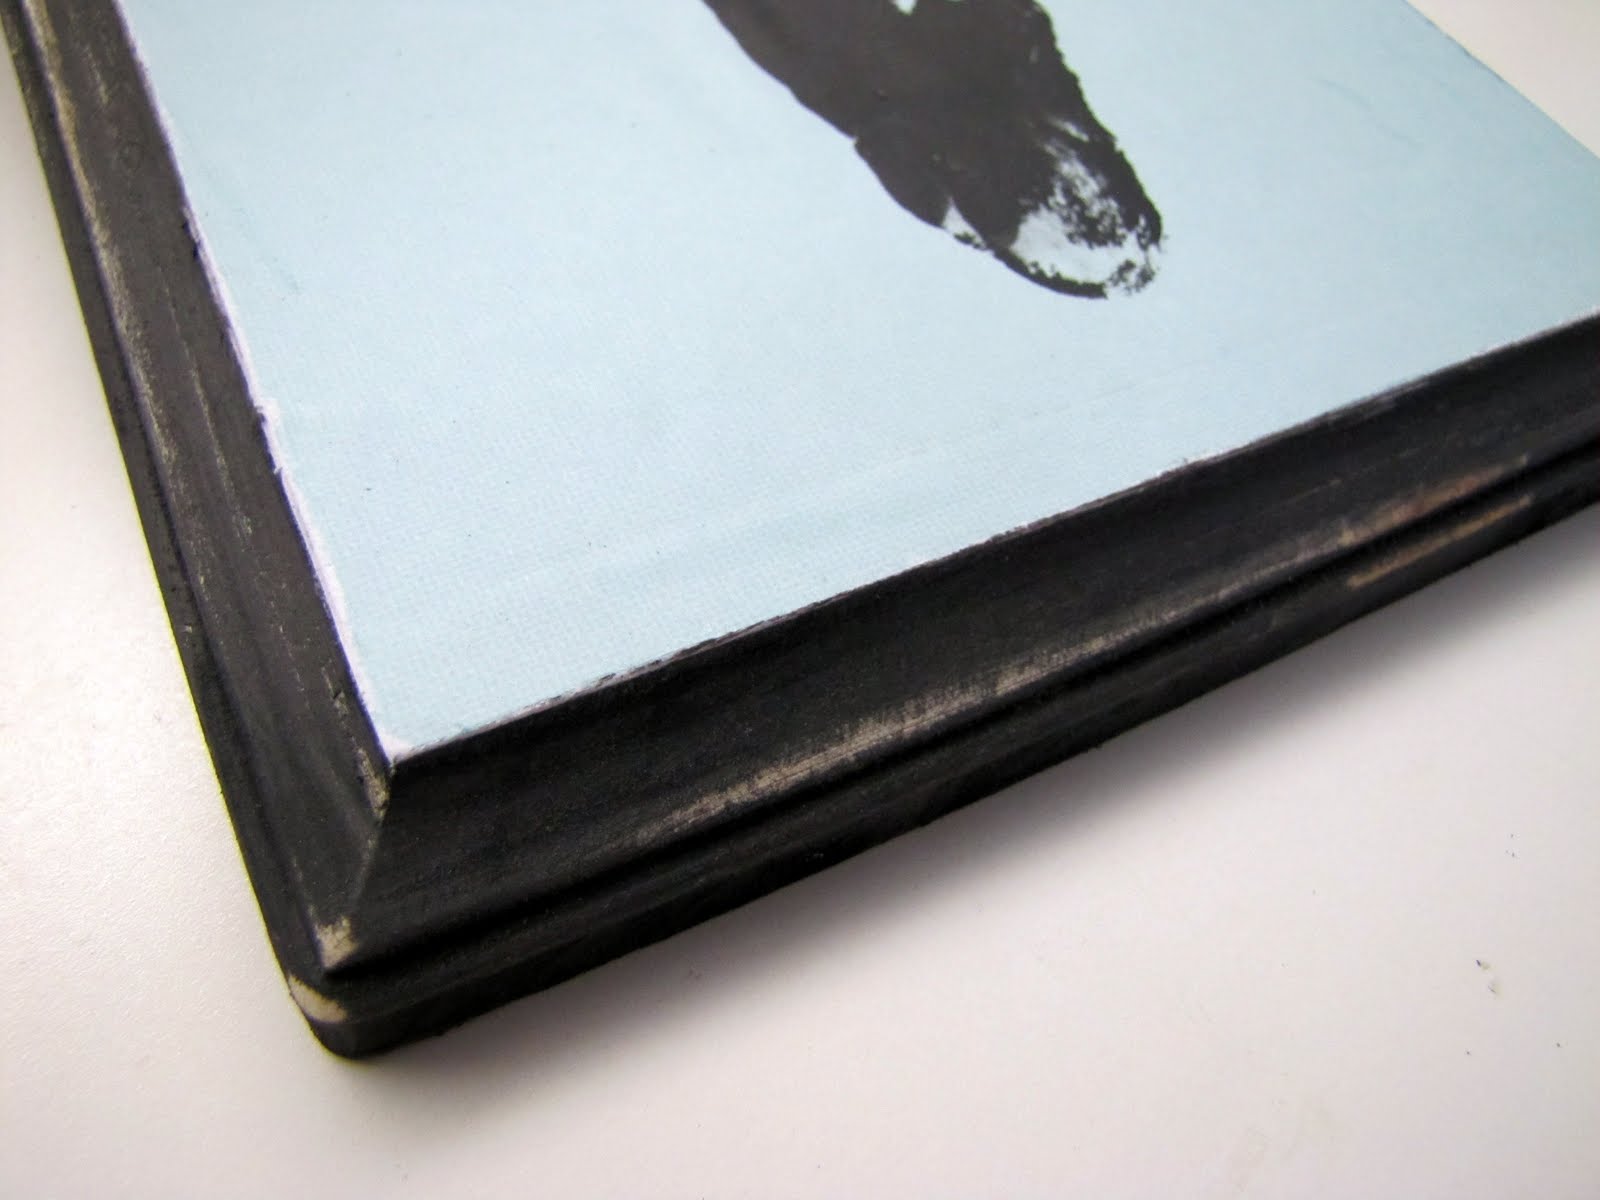
I also sanded the edges of the plaque to give it a distressed look.
STEP FOUR:
Once you have finished sanding, apply the top layer of Mod Podge to the entire surface of your plaque. Don’t worry if it looks foggy and/or white from the Mod Podge–the Mod Podge will dry clear.
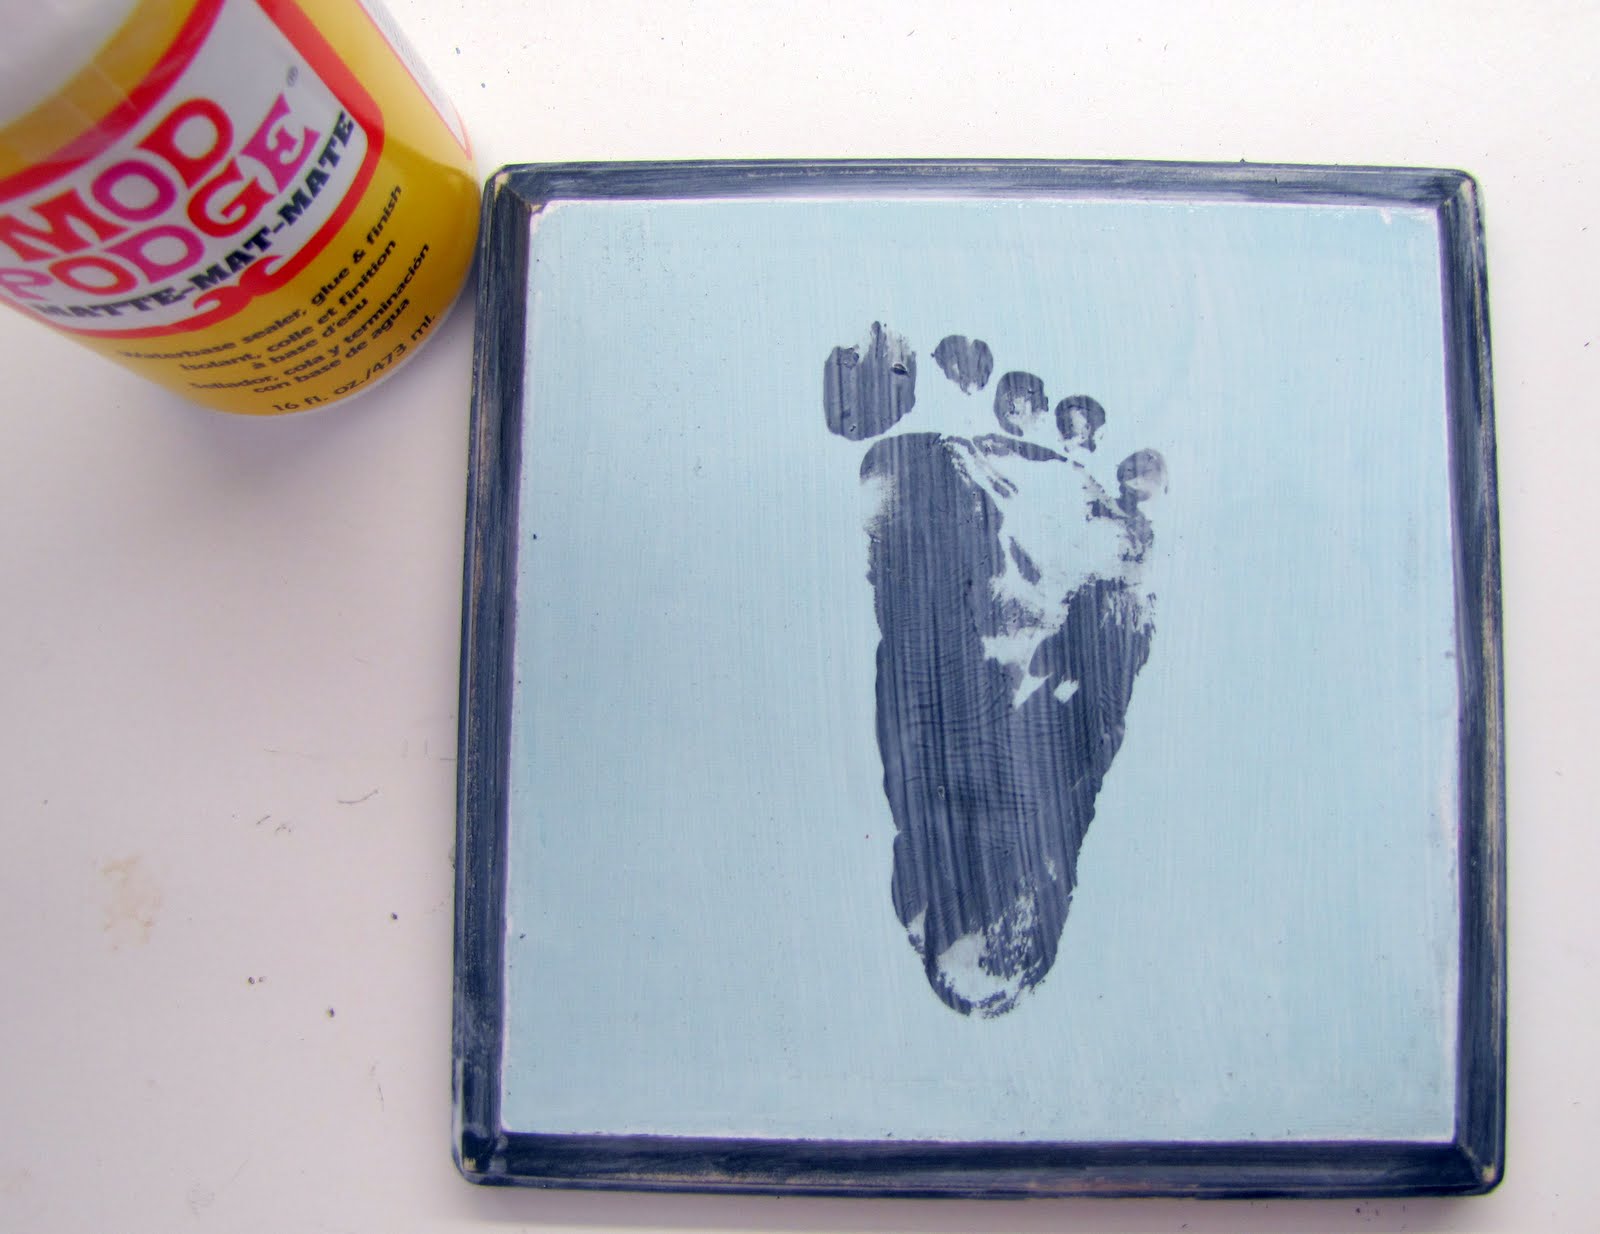
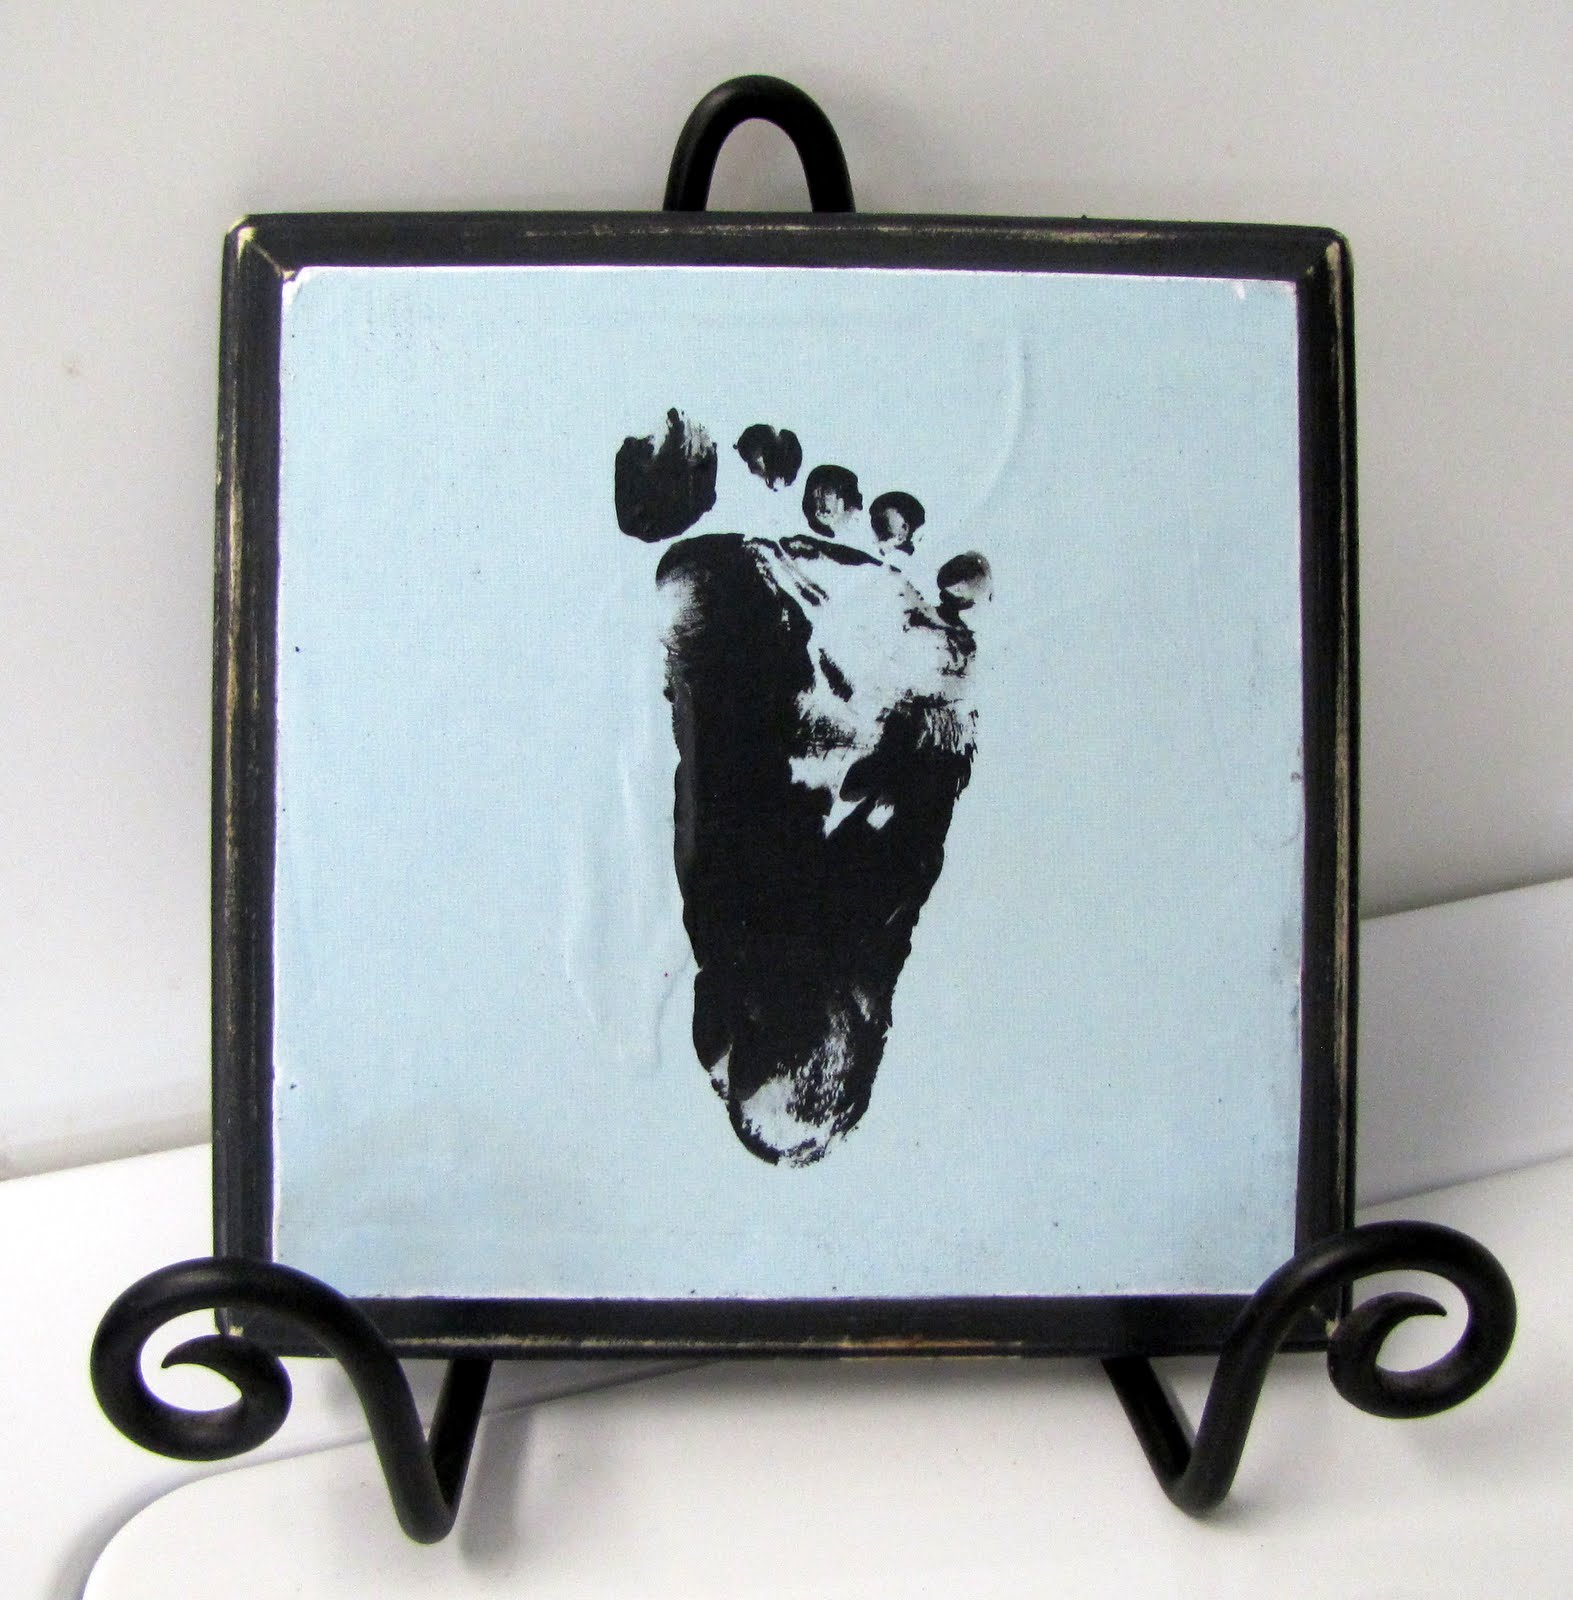
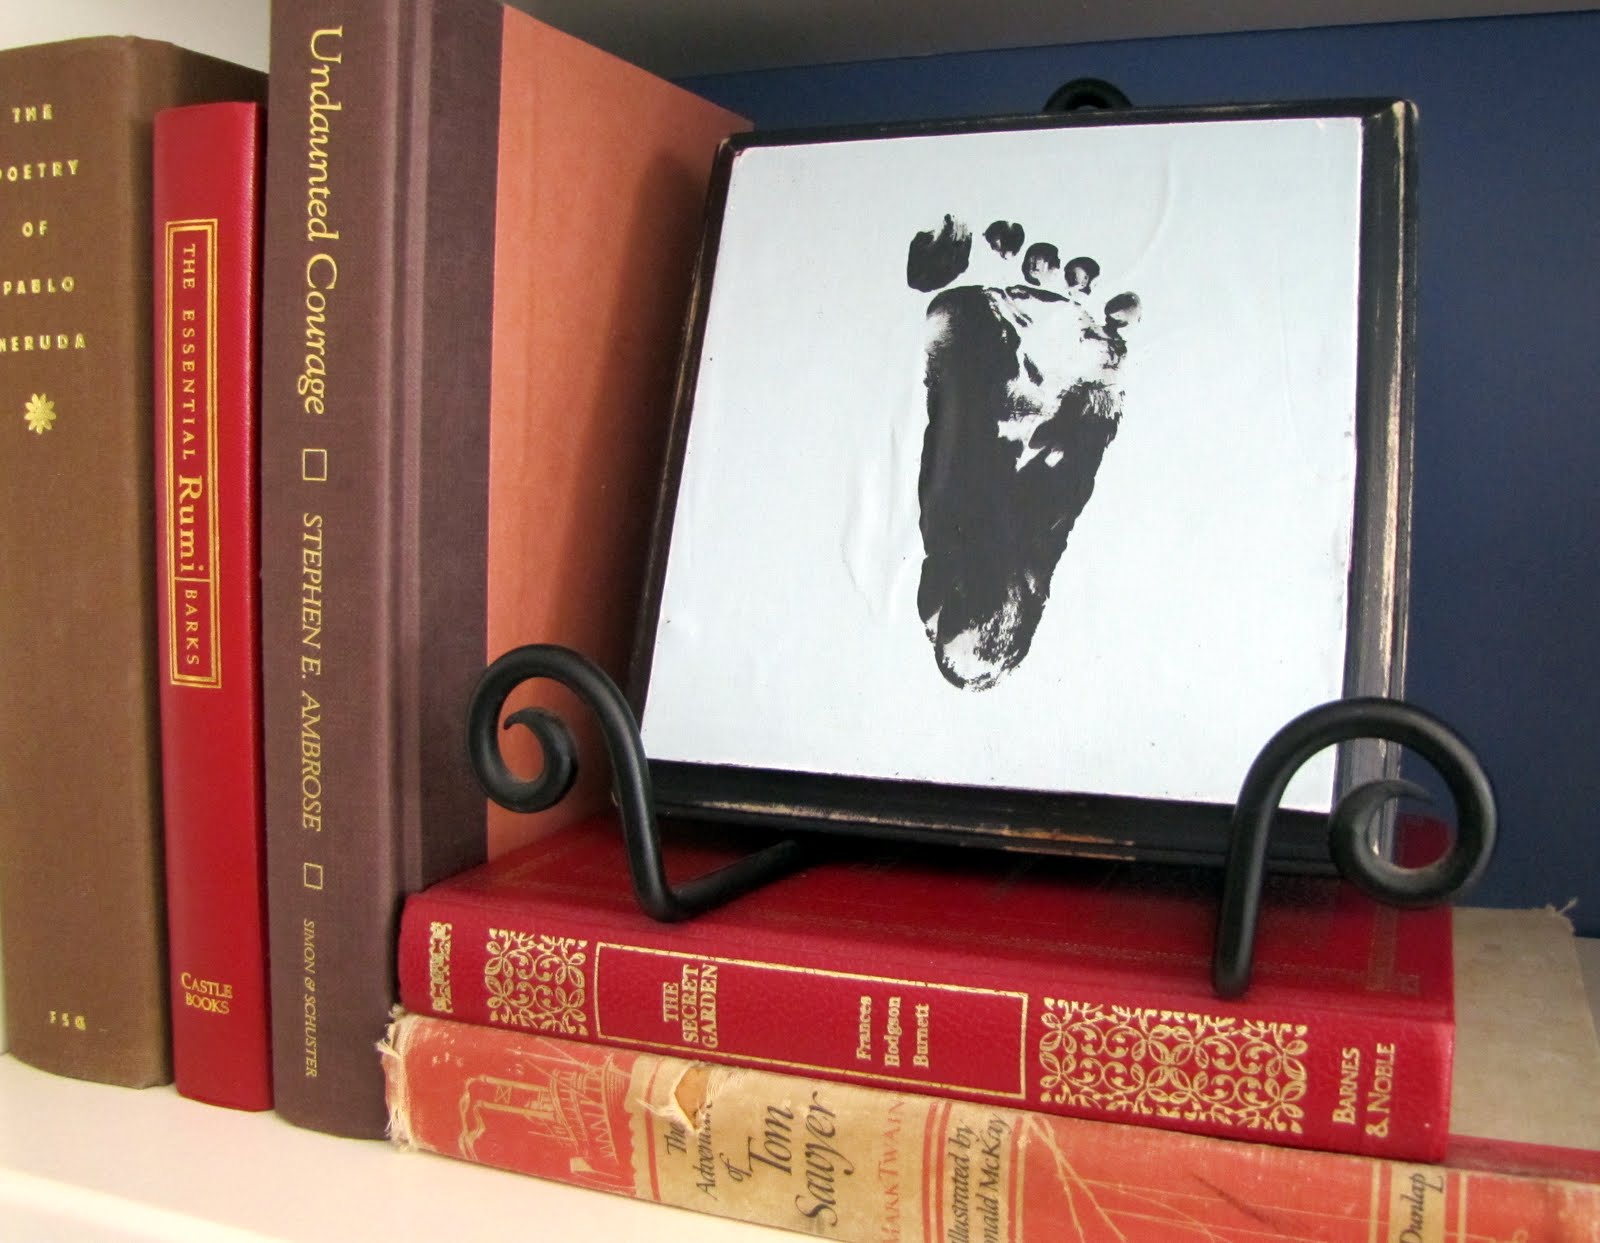
And here you have it:
I put my plaque on a photo stand, but you could also apply ribbon to the back and hang it {like I did in my door hanger tutorial}.
Now try to find the perfect place in your house to display your cutie-patootie wittle footsy wootsy.
Like here:

or here:
_____________________________
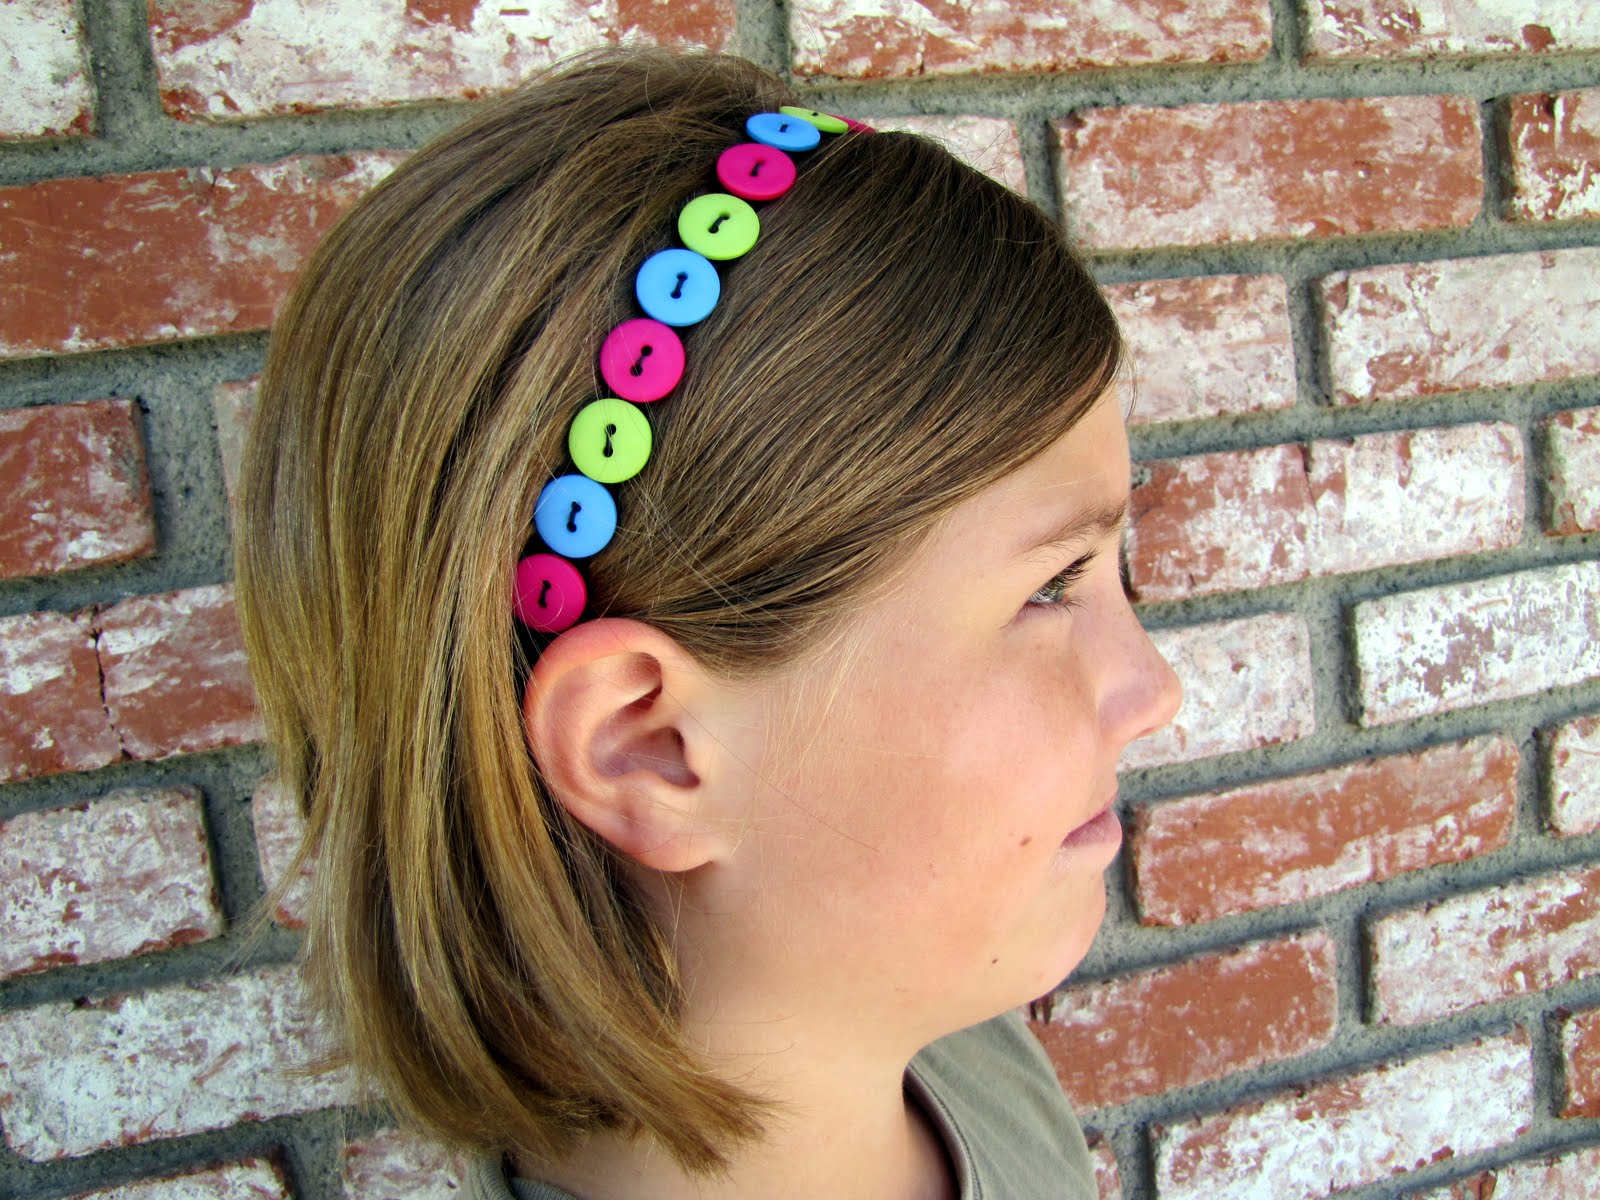
And now lets take a trip over to one of
my favorite blogs eva, Love Stitched,
where I will teach you how to sew this
stretchy button headband:
{tutorial will be posted at 5:30 am tuesday}

Happy Crafting!